Managing units
The Units section lets you manage the organizational groupings of your space. To learn more about the unit concept, see the Units page.
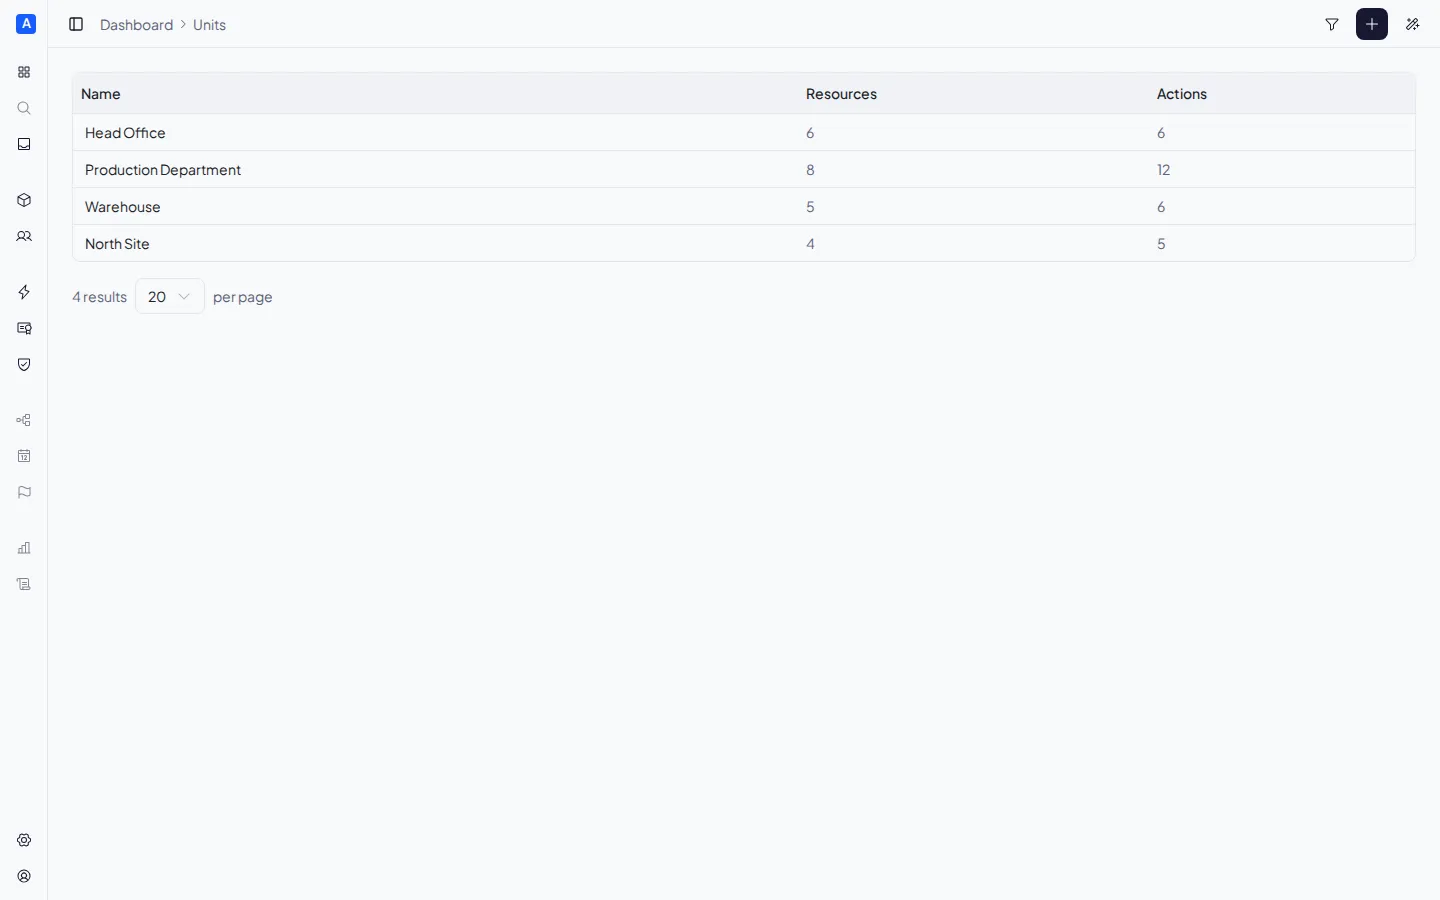
Unit list
Section titled “Unit list”The page displays a table with all units, showing for each:
- Name — the unit name
- Resources — the number of assigned resources
- Actions — the number of assigned actions
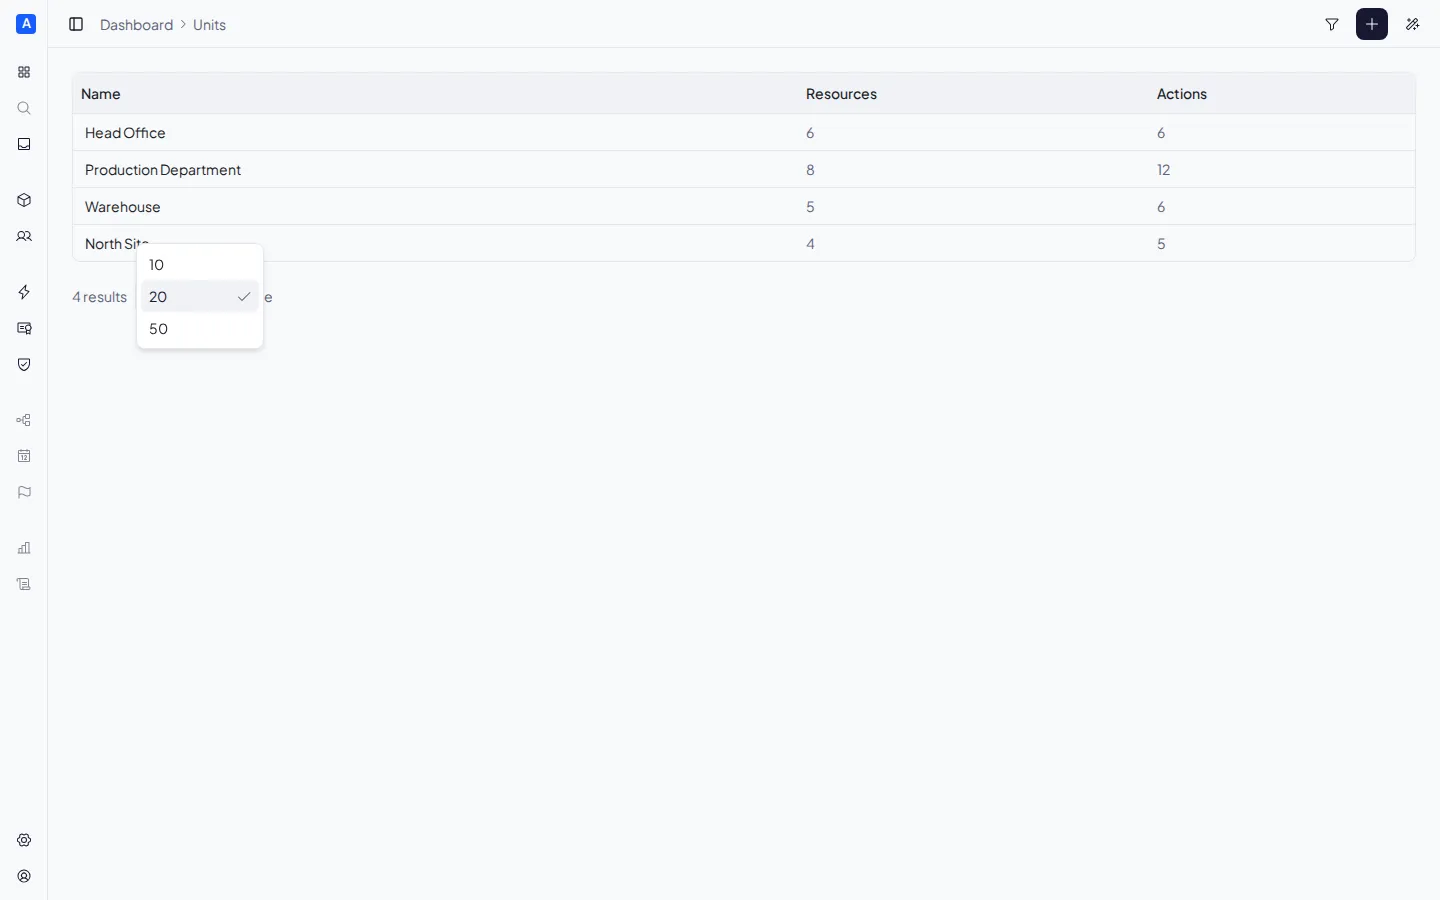
You can search units by name using the search bar at the top. Columns are sortable by clicking the header.
Creating a unit
Section titled “Creating a unit”Click the ”+ New unit” button in the top right. Enter the unit name and confirm.
For example, you can create units like “Milan Office”, “Production Department”, or “North Site” to reflect your organization’s structure.
Editing a unit
Section titled “Editing a unit”Click a unit in the list to open the detail panel.
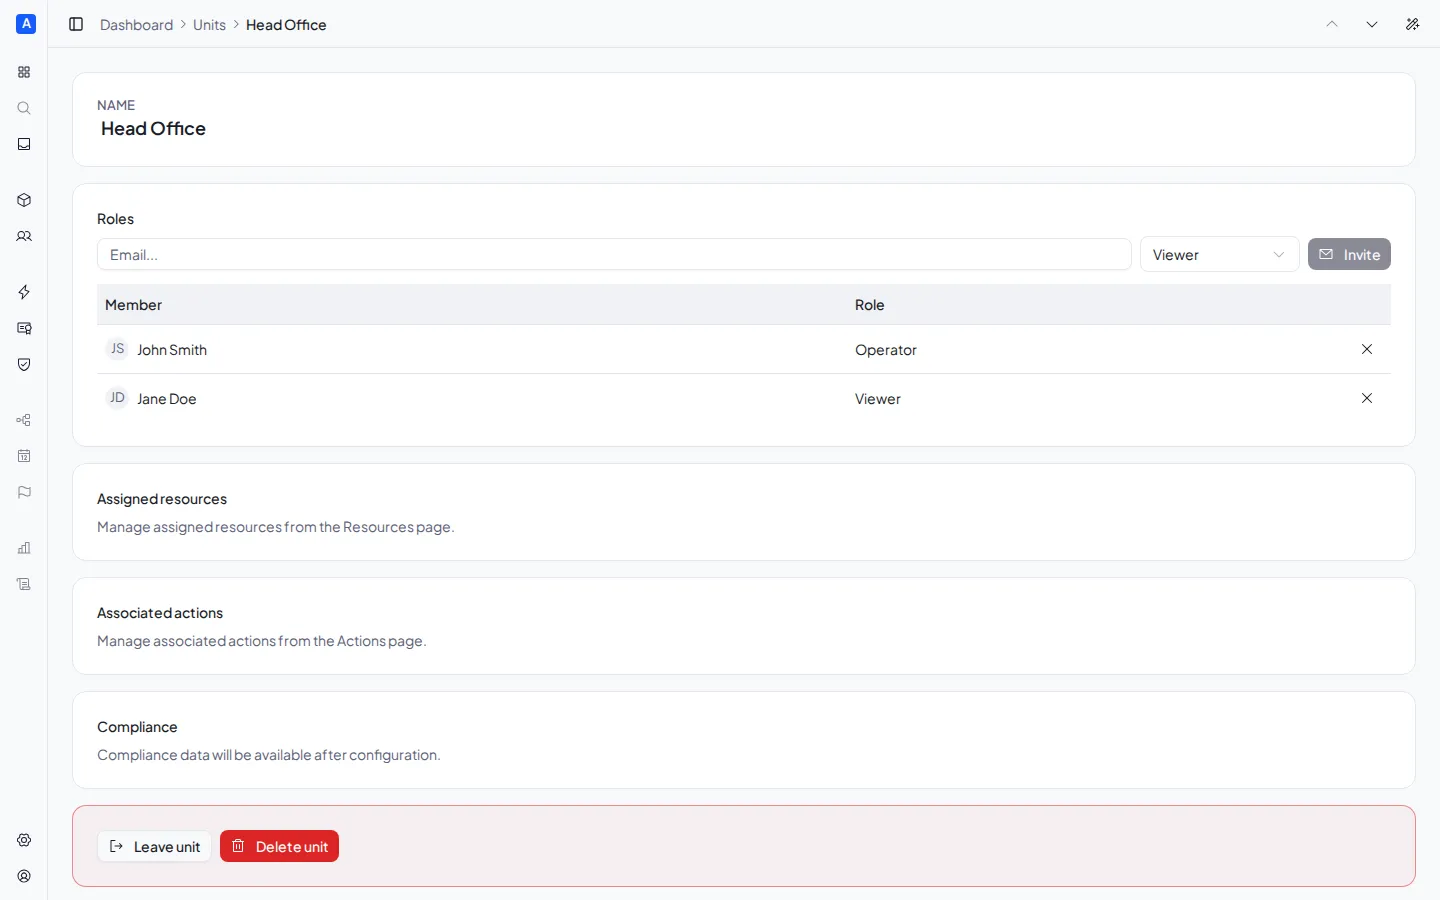
From here you can:
- Rename the unit by editing the name field
- View the resources assigned to the unit
- View the actions assigned to the unit
- Manage user roles on the unit
Resources and actions associations
Section titled “Resources and actions associations”The detail panel shows the resources and actions currently associated with the unit. Associations are managed from the other side:
- To assign a resource to this unit, go to the Resources page and use the resource detail panel
- To assign an action to this unit, go to the Actions page and use the action detail panel
These associations determine compliance obligations: when a unit has both resources and actions, Eriga automatically generates obligations for every compatible resource-action combination.
Managing roles
Section titled “Managing roles”The Roles section in the unit detail lets you assign roles to users. For a complete overview of the permission system, see Roles and permissions. Each user can have only one role per unit:
| Role | What they can do |
|---|---|
| Operator | Compliance management: issues, updates, and revokes certificates, manages attachments |
| Viewer | Read-only access |
To add a member:
- Enter the person’s email address
- Choose the role (Operator, Viewer)
- Confirm the assignment
If the person is already registered, the role is assigned immediately. If they are not yet registered, they will receive an email invitation and the assignment will happen automatically upon registration.
To change a user’s role, assign them the new role — the previous one will be replaced automatically.
To remove a role, click the X next to the user’s name in the roles table.
The “Leave unit” button allows a user to remove themselves from the unit.
Note: assigning a role on a unit automatically grants access to the space. A user with no roles on any unit cannot access the space.
Deleting a unit
Section titled “Deleting a unit”From the detail panel, use the delete option. Deleting a unit:
- Resources and actions are not deleted, but they lose their association with that unit
- Compliance obligations that depended solely on that unit are removed
- Roles assigned on the unit are removed